How to Build a Survival Garden That Feeds Your Family
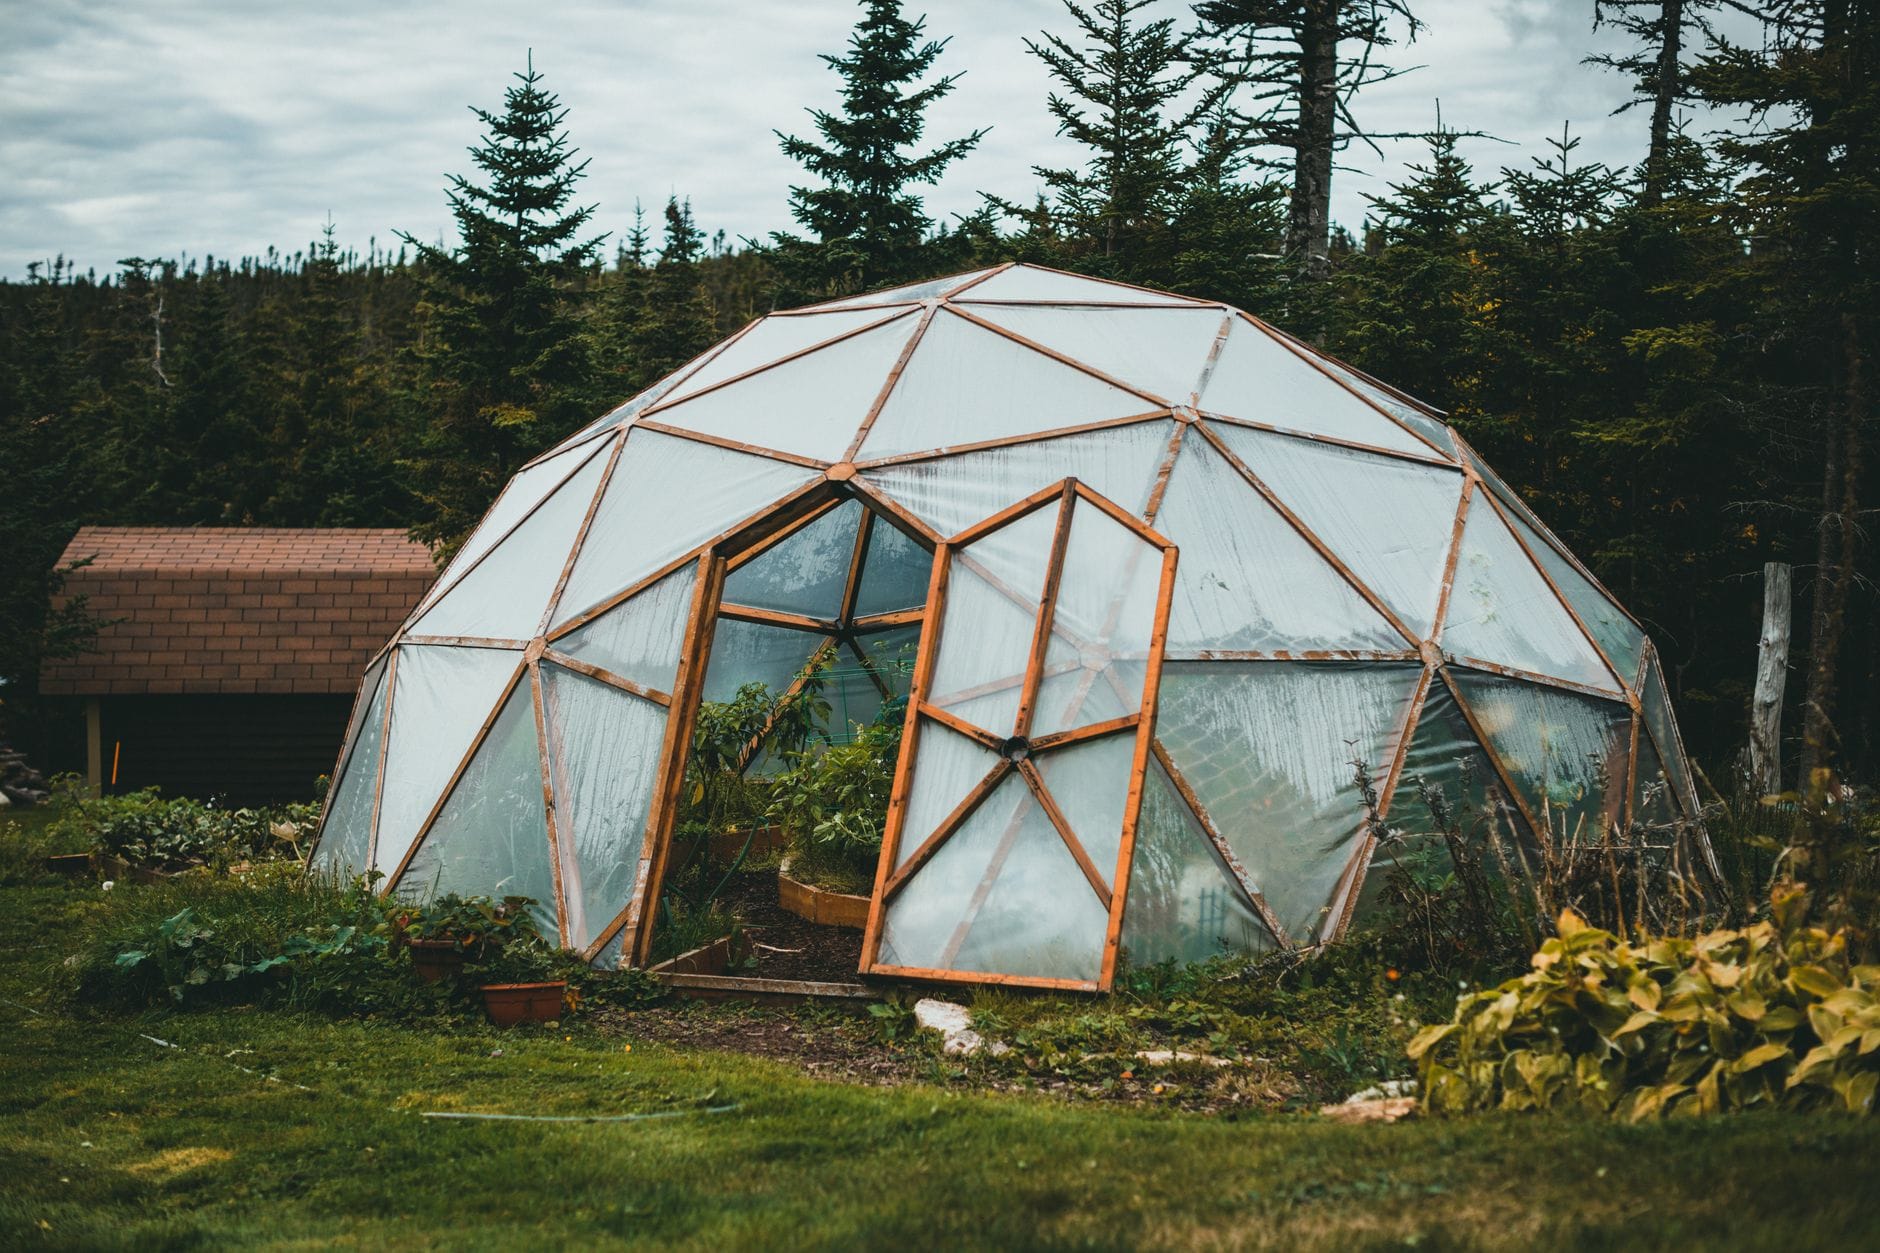
Why a Survival Garden Is Non-Negotiable
Let's cut straight to it: food storage has a shelf life. Your freeze-dried buckets, your canned goods, your MRE stockpile — all of it runs out. And when the supply chain collapses, when the shelves go bare, when the trucks stop running, the only people who eat are the ones who grew their own food. A survival garden isn't a hobby. It isn't about saving money at the farmers market. It is a life insurance policy written in soil and seeds.
Families who don't have a functioning food production system are entirely dependent on a fragile infrastructure that has already proven it can fail — COVID, hurricanes, wildfires, economic collapse. Every one of those events exposed the same vulnerability: most people have no idea how to feed themselves beyond a two-week window. That's not a prepper problem. That's a civilization problem. And you're reading this because you refuse to be that family standing in the FEMA line hoping someone hands you a meal.
A well-designed survival garden can produce 2,000 to 4,000 calories per day for a family of four from as little as 2,000 square feet of growing space — if you plan it correctly. This guide will show you exactly how to do that.
What You Need Before You Start
Don't put a single seed in the ground until you've checked these boxes. Winging it in a survival scenario costs you a full growing season — and potentially your family's food security.
Know Your Numbers
- Family size and caloric needs: A working adult needs roughly 2,000–2,500 calories daily. Calculate your household's total daily caloric requirement and multiply by 365. That's your annual production target.
- Your USDA hardiness zone: Know your zone before you buy a single seed. Growing season length, frost dates, and what crops will actually survive in your climate all depend on this.
- Available growing space: Measure what you have. Don't have a yard? Vertical growing, container gardening, and rooftop setups can still produce meaningful yields.
Essential Tools
- Hand tools: A quality flat spade (Bully Tools or Fiskars), a bow rake, a hoe, and a hand trowel. Steel-headed, wood-handled tools last decades and don't require batteries or fuel.
- Water delivery: Drip irrigation tape or soaker hoses connected to rain barrels or a gravity-fed tank. Municipal water is not a guaranteed resource in a grid-down scenario.
- Soil testing kit: Luster Leaf Rapitest or send samples to your county extension office. You cannot optimize what you don't measure.
- Cold frames or row cover fabric: Extend your growing season by 4–6 weeks on each end. Agribon AG-19 frost blanket is cheap, lightweight, and reusable.
Seed Inventory — Open-Pollinated Only
This is the non-negotiable rule of survival gardening: every seed you plant must be open-pollinated and non-hybrid. Hybrid seeds (marked F1) will not breed true in the second generation. Heirloom and open-pollinated varieties allow you to save seed season after season indefinitely. Build your seed bank around these categories:
- Calorie crops: Dried beans (Blue Lake, Jacob's Cattle), field corn (Bloody Butcher, Hickory King), potatoes, winter squash (Butternut, Hubbard)
- Nutritional crops: Kale, Swiss chard, sweet potatoes, tomatoes, peppers
- Quick-harvest crops: Radishes, lettuce, spinach, green onions — keep morale up while calorie crops mature
- Perennials: Asparagus, rhubarb, comfrey (excellent compost activator and livestock feed), Jerusalem artichokes
Recommended seed suppliers: Baker Creek Heirloom Seeds, Seed Savers Exchange, Southern Exposure Seed Exchange. Store seeds in airtight containers with desiccant packets in a cool, dark location. Properly stored seeds can remain viable for 3–10 years depending on variety.

The Process: Building Your Survival Garden Step by Step
- Site Selection: Choose a location that receives a minimum of 6–8 hours of direct sunlight daily. Avoid low-lying areas where cold air settles and frost hits early. Proximity to your water source is critical — every 100 feet of additional hose run costs you time and energy in a grid-down scenario.
- Soil Preparation: Test your soil pH first. Most vegetables thrive between 6.0 and 7.0. Amend accordingly — agricultural lime raises pH, sulfur lowers it. Build fertility with compost. If you don't have a compost system already, start one today. Sheet mulching with cardboard and wood chips (the Back to Eden method) is one of the fastest ways to build productive soil without tilling, which destroys soil structure over time.
- Layout and Bed Design: Use raised beds or intensive in-ground planting in 4-foot-wide rows. Four feet allows you to reach the center from either side without compacting the soil. Paths between beds should be at least 18 inches wide. Orient beds north to south so taller plants don't shade shorter ones. Dedicate at least 50% of your space to calorie-dense crops — potatoes, corn, beans, and squash (the Three Sisters system is a battle-tested companion planting method that produces all three in the same space).
- Planting Sequence and Succession Planting: Don't plant everything at once. Stagger plantings every 2–3 weeks for crops like beans, lettuce, and radishes to ensure continuous harvest rather than one overwhelming glut followed by nothing. Start warm-season crops (tomatoes, peppers, squash) indoors 6–8 weeks before your last frost date.
- Water System Setup: Install at minimum two 275-gallon IBC totes connected to your roof's downspouts. A single 1,000 square foot roof can capture over 600 gallons per inch of rainfall. Connect your totes to drip irrigation tape laid at plant bases. This cuts your water use by 50% compared to overhead watering and reduces disease pressure significantly.
- Fertilization Without the Grid: Compost is your primary fertility input. Supplement with wood ash for potassium and calcium (use sparingly — it raises pH fast), blood meal or urine for nitrogen, and bone meal for phosphorus. Plant comfrey as a dynamic accumulator — cut it and use the leaves as mulch to return deep-soil minerals to the surface.
- Pest and Disease Management Without Chemicals: Neem oil (cold-pressed, 100% pure) handles a wide range of soft-bodied insects. Diatomaceous earth (food grade) applied dry at the base of plants kills crawling insects. Crop rotation every season is non-negotiable — never plant the same plant family in the same bed two years running. Hand-picking and floating row covers are your first line of defense.
- Seed Saving: From day one, designate specific plants in each crop category as your seed stock. Let them go to seed rather than harvesting for food. Label them clearly. Learn proper seed saving techniques for each crop type — wet processing for tomatoes, dry processing for beans, isolation distances for cross-pollinating crops like corn and squash.
Tips From the Field
- Don't plant what your family won't eat. In a survival scenario, morale matters. If your kids won't touch turnips under normal conditions, turnips are not your primary survival crop. Plant familiar foods first, expand later.
- Perennials are your long-game anchor. Every year you delay planting asparagus crowns or berry bushes is another year you don't have them producing. Plant them this season, even if the rest of your garden isn't ready.
- Document everything. Keep a garden journal — what variety, what date planted, what yield, what worked, what failed. After two or three seasons, this data is more valuable than any gardening book you'll ever read because it's specific to YOUR soil and YOUR climate.
- Security matters. In a prolonged grid-down event, a productive garden becomes a target. Perimeter fencing, thorny hedgerows (osage orange, hawthorn, multiflora rose removal and replacement with something edible like rugosa rose), and maintaining a low profile about your food production capabilities are all real considerations.
- Learn preservation before you need it. A massive harvest means nothing if you can't store it. Water bath canning, pressure canning, lacto-fermentation, root cellaring, and dehydration are all skills that must be practiced before the harvest comes in — not during it.
- Integrate animals if at all possible. Even three laying hens will dramatically increase your nutrition through eggs and provide a mobile composting system. Rabbits are highly efficient protein converters with minimal footprint. These are force multipliers for your garden system.

What to Practice Now: Your 30-Day Skill-Building Plan
Knowledge without practice is just theory. Use this 30-day plan to move from reading about survival gardening to actually doing it.
- Days 1–3: Conduct a full site assessment. Measure your available space, map sun exposure at different times of day, and order a soil test kit. Identify your USDA hardiness zone and pull your last/first frost dates.
- Days 4–7: Inventory your current seed supply. Identify gaps. Order open-pollinated, heirloom seeds from a reputable supplier to fill those gaps. Build or purchase a proper seed storage container with desiccant.
- Days 8–12: Start your compost system if you don't have one. Set up a three-bin system using pallets or build a single pile with the right carbon-to-nitrogen ratio (30:1 brown to green). Begin accumulating materials.
- Days 13–17: Lay out and build your first two raised beds or mark your in-ground planting areas. Sheet mulch if needed. Get soil amendments in place based on your test results.
- Days 18–22: Set up your water capture system. Install at least one rain barrel or IBC tote connected to a downspout. Run your first length of soaker hose and test the gravity flow.
- Days 23–26: Plant your first succession of quick-maturing crops — radishes, lettuce, spinach. This gets you in the habit of daily garden walks and observation, which is a critical skill in itself.
- Days 27–30: Learn and practice one preservation technique. Water bath canning is the most accessible starting point. Process a batch of something you already have — tomatoes, jam, pickles. Confirm your equipment works and you understand safe processing times before you're depending on it.
Preparation Is a Lifestyle
You don't build a survival garden in a weekend. You build it season by season, year by year, through accumulated knowledge, improved soil, expanded infrastructure, and hard-won experience. The people who will eat when the system fails aren't the ones who bought a seed vault and stuck it in a closet. They're the ones who got their hands dirty every spring, who learned from every crop failure, who practiced preservation until it was second nature, and who built a genuine, functioning food production system rooted in their specific land and climate.
Start where you are. Start with what you have. But start today. The best time to plant a survival garden was ten years ago. The second best time is right now. Every season you delay is another season of total dependency on a system that has already shown you it will not always be there. That's the reality. Build accordingly.
🛒 Essential Survival Gear

As an Amazon Associate I earn from qualifying purchases.