How to Build a Long-Burn Fire for Overnight Warmth
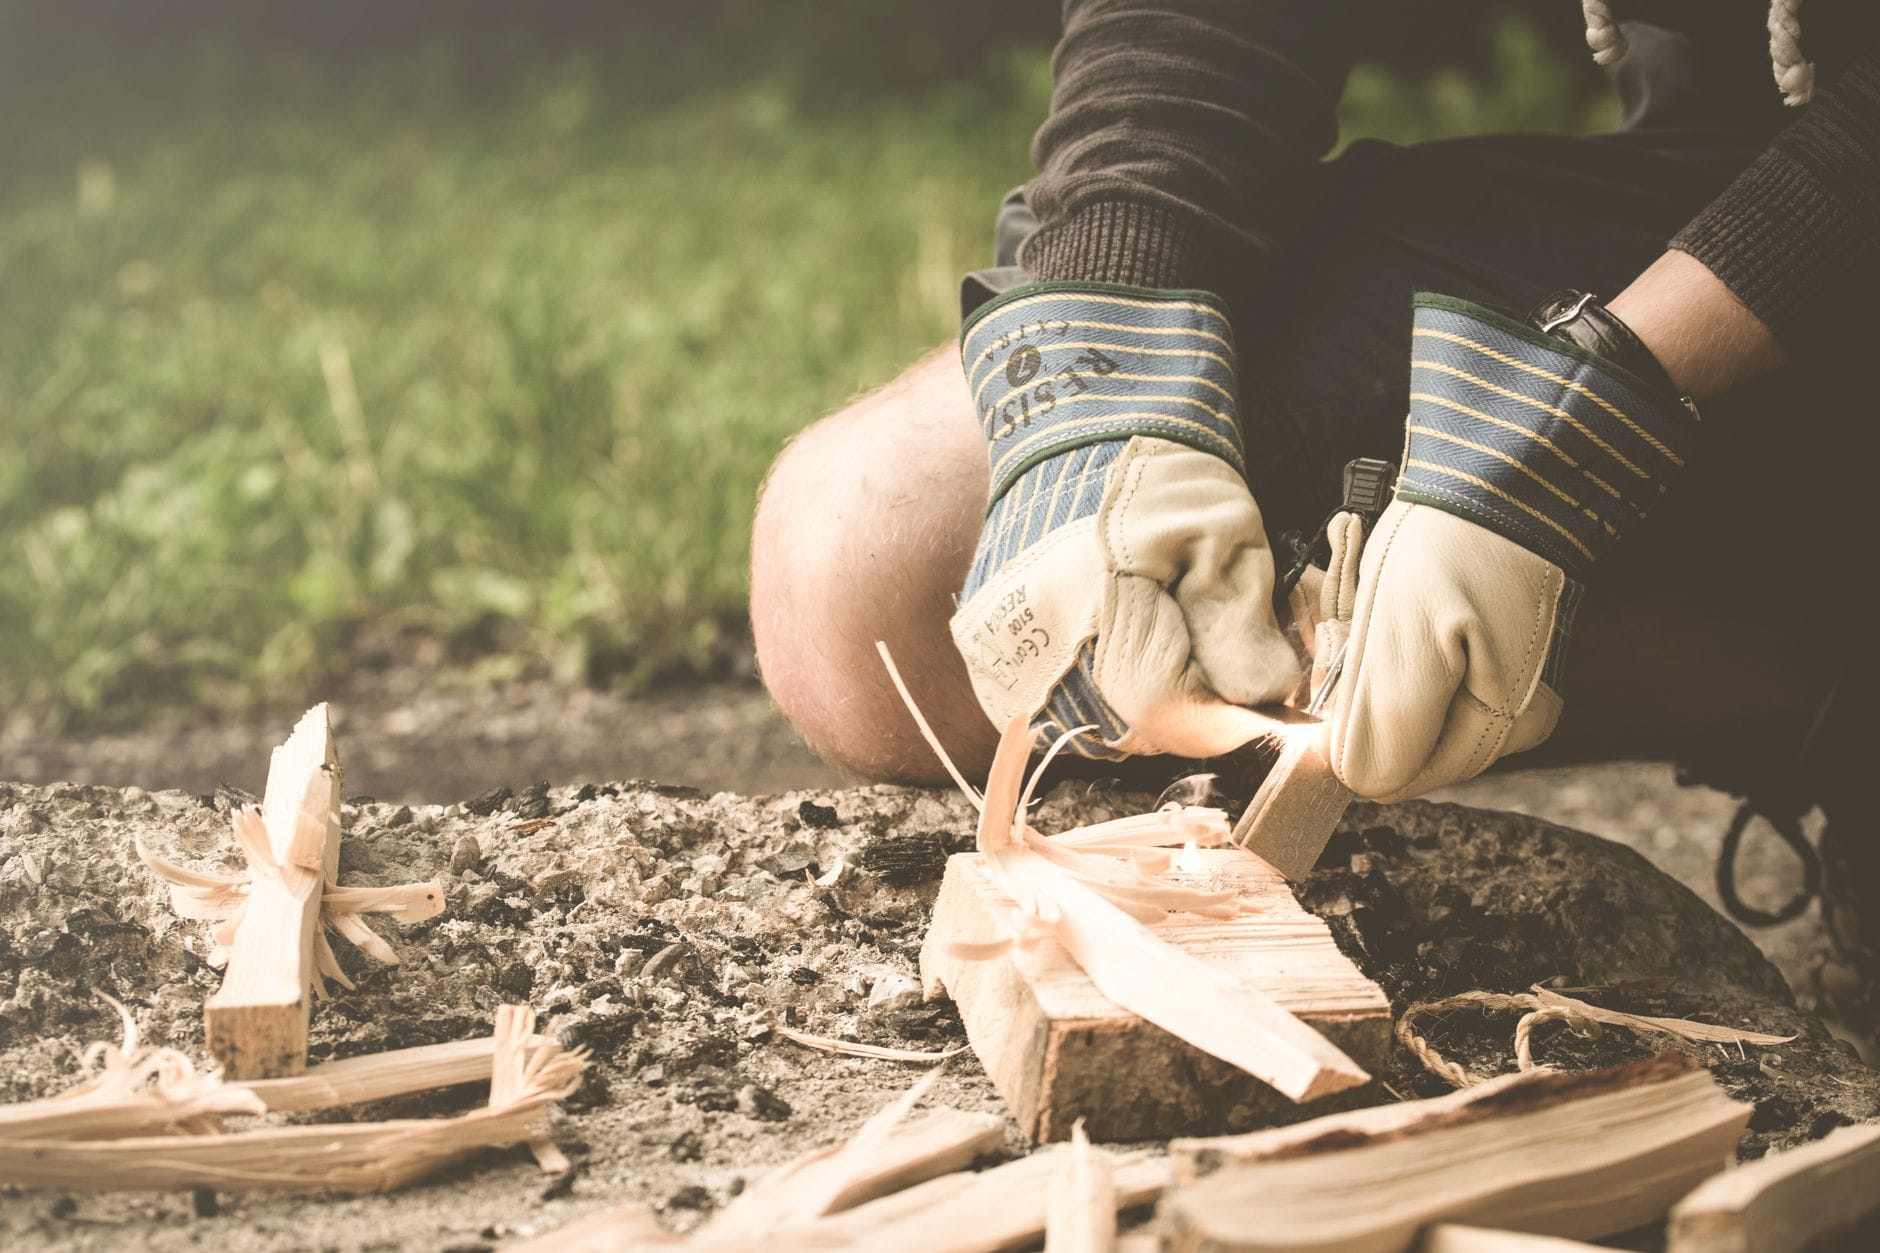
Why This Skill Is Non-Negotiable
Hypothermia kills faster than starvation. Faster than dehydration in many cold-weather scenarios. And it kills quietly — your thinking degrades before your body fails, which means by the time you realize you're in serious trouble, you may already lack the cognitive function to do anything about it. A fire that burns for two hours and then dies at 2 AM isn't a survival fire. It's a comfort fire. And comfort fires get people killed.
In a real overnight emergency — whether you're stranded in the backcountry, bugging out on foot, or riding out a grid-down winter situation — you need a fire that works while you sleep. That means understanding fire architecture, fuel selection, and burn management at a level most people never bother to learn. The casual camper builds a teepee fire, watches it burn bright for an hour, and then feeds it all night like a furnace. That's exhausting and unsustainable.
The serious prepper builds a fire that feeds itself. A fire engineered for thermal output over time, not spectacle. If you've never built a true long-burn fire, you are carrying a gap in your skillset that weather, bad luck, or a single wrong turn could turn fatal. Fix that now, before the scenario forces you to figure it out under duress.
What You Need Before You Start
Before you strike a match or spin a drill, preparation determines everything. A long-burn fire requires the right materials, the right site, and the right mindset going in.
Site Selection: Choose a location with natural windbreaks — a rock face, dense brush, or a hillside at your back. Wind is your enemy. It steals heat and burns through fuel at double the rate. If you're in open terrain, build a reflector wall from logs or flat rocks behind the fire to redirect heat toward your sleeping position. Your fire and reflector should be 6–8 feet from where you sleep — close enough to warm you, far enough to be safe.
Fire Lay Area: Clear a flat area down to mineral soil. Remove all organic debris in a 3-foot radius. If the ground is wet or frozen, build a platform of green logs or flat stones to elevate your fire off the ground and prevent heat loss into the earth.
Tinder Bundle: You need dry, fine material that catches a spark or flame instantly. Options include:
- Commercial tinder: WetFire cubes, Fatwood shavings, or UCO Stormproof tinder sticks
- Natural alternatives: Dried grass, cattail fluff, birch bark (peeled inner layers), dried pine needles, crumbled dry leaves, cedar bark shredded fine
- Char cloth in an Altoids tin (homemade — highly recommended to have pre-made)
Kindling: Finger-width sticks, bone dry. Pencil-thin up through thumb-thick. Quantity matters — have three times what you think you need. Split wood catches faster than round sticks because exposed interior wood is drier.
Fuel Wood — This Is Where Most People Fail: For a long-burn fire, you need dense hardwoods. Softwoods burn fast and hot, great for getting started, terrible for sustained heat. Target these species when available:
- Oak — the gold standard, extremely dense, burns long and hot
- Hickory — burns even hotter than oak, excellent coal production
- Maple — dense, consistent, great overnight fuel
- Beech — similar to maple, reliable performer
- Apple or fruit woods — dense, clean burn, excellent coals
Avoid: Pine, spruce, fir, and other softwoods as primary overnight fuel. They're useful for starting, but they burn out fast and produce excessive sparks and creosote.
Tools: Fixed-blade knife (Mora Garberg, Benchmade Bushcrafter, or similar), a small folding saw (Silky Pocketboy or Bahco Laplander), and a reliable ignition source — waterproof matches, a quality lighter (Zippo with spare fuel or BIC in a waterproof case), and a ferro rod as backup. Never rely on a single ignition method.

The Process: Building Your Long-Burn Fire Step by Step
This is the Log Cabin / Parallel Log method combined with a coal bed strategy — the most reliable architecture for sustained overnight heat in field conditions.
- Prepare your fuel in stages before you light anything. Gather and process tinder, kindling in three sizes (pencil, finger, thumb), and fuel logs. For an overnight fire, you want at minimum a 4-hour supply staged and ready. In cold weather, you burn through wood faster than you think. Split your larger logs — a 6-inch round log split into quarters burns far more efficiently than the same log left whole.
- Build your tinder nest. Form a loose, airy bundle roughly the size of a bird's nest. Pack the center tight enough to hold a coal, but loose enough to allow airflow. Place it in the center of your cleared fire area.
- Construct a kindling platform. Lay two finger-thick sticks parallel, about 6 inches apart, on either side of your tinder. This elevates your structure and allows air to feed the fire from below — critical for sustained burn.
- Build up in a log cabin pattern. Place two more sticks perpendicular on top of the first two, alternating like Lincoln Logs. Repeat two or three layers using progressively larger sticks. Keep the center open above your tinder nest. This is your ignition structure.
- Light your tinder. Apply flame or a blown coal to the tinder nest. Once it catches, tuck it under the kindling structure and shield from wind with your body. Do not rush. Let it build naturally. Blowing a steady, controlled breath at the base of the flame increases oxygen without smothering.
- Transition to the parallel log lay — the heart of your long-burn system. Once you have a solid flame working through your kindling structure and the first coals are forming, transition your fuel strategy. Lay two large hardwood logs parallel to each other with about 2–3 inches of space between them. Feed your main fire in that channel. As the fire burns down, push the logs inward. This concentrates heat, reduces surface area exposure to air (slowing burn rate), and creates a deep coal bed that retains heat for hours.
- Build your coal bed deliberately. The true heat engine of a long-burn fire isn't the flame — it's the coals. Dense hardwood produces thick, glowing coals that radiate consistent heat for hours. As your fire burns, resist the urge to break up coals. Let them accumulate in a deep layer between your parallel logs.
- Before you sleep, load up. Add your largest, densest hardwood logs to the fire about 30 minutes before you intend to sleep. Let them catch fully. A log 4–6 inches in diameter, split, from dense oak or hickory, can burn 3–4 hours on a solid coal bed. Two such logs, properly placed, can sustain a fire through most of the night.
- Position yourself correctly. Sleep parallel to the fire, not perpendicular to it. This exposes the full length of your body to radiant heat. If you have an emergency blanket or a reflective tarp, rig it behind you to bounce heat back toward your body. This doubles the effective warmth of your fire.
Tips from the Field
These are the adjustments that textbooks don't cover — learned the hard way in the field and worth more than any gear review.
- Wet wood is not a death sentence. In rain or after snowmelt, look for standing dead wood — trees that have died upright are naturally protected from ground moisture. Split any wood you find to expose the dry interior. Surface wet, interior dry is perfectly usable fuel.
- The "handshake test" for dry wood. Two sticks of dry hardwood struck together produce a sharp, hollow knock. Wet wood produces a dull thud. Simple, fast, reliable in the field.
- Wind management changes everything. In sustained wind, your parallel log fire should be oriented so the wind travels down the channel between logs, not across it. This funnels air into the coal bed and increases heat output instead of scattering embers.
- Fatwood is emergency insurance. Carry 4–6 pieces of fatwood — the resin-saturated heartwood from old pine stumps. It lights in wet, cold, windy conditions where nothing else will. Grohmann, Light My Fire, and Basic Nature all sell pre-split fatwood. Or harvest your own from old pine stumps — the golden, sticky core is unmistakable.
- Never leave a fire unattended in the field without intent. If you're sleeping next to a fire, you're monitoring it — even if unconsciously. But if you leave camp, fully extinguish. No exceptions. A wildfire in a bug-out scenario could cost you your life and your gear.
- Rock reflector walls double your warmth return. Stack flat stones 18–24 inches high behind your fire. They absorb heat, re-radiate it toward your sleeping position, and block wind. An hour of work building one pays dividends all night.
- Coals can be reignited. If you wake at 3 AM and your fire has burned down to coals, don't panic. Lay fine kindling directly on the coals, add a controlled breath, and they will reignite without a lighter. Maintaining coals is the core skill of long-burn fire management.

What to Practice Now: A 30-Day Skill-Building Plan
Knowing the theory and executing under pressure are two different things. Build the skill in controlled conditions so that when conditions are uncontrolled, your hands already know what to do.
- Week 1 — Wood Identification and Splitting: Walk your local area and identify the hardwood species available to you. Practice splitting rounds with a hatchet or knife and baton. Learn the handshake test. Stage a supply of split hardwood at home.
- Week 2 — Tinder and Kindling Mastery: Build and light five separate tinder bundles using only natural materials — no commercial aids. Vary the conditions: morning dew, afternoon heat, wind. Time yourself from spark to sustained flame. Target under 90 seconds consistently.
- Week 3 — Full Fire Build Practice: Build a complete parallel log fire in your backyard, starting from scratch. Focus on coal bed development. Measure burn time on your largest available hardwood logs. Record results in a field notebook. Adjust log size and spacing.
- Week 4 — Overnight Burn Simulation: Conduct a controlled overnight fire in your yard or on a camping trip. Build the fire at dusk, sleep beside it (or set hourly alarms), and track how long your fuel supply lasts. Note temperature, wood species used, wind conditions, and what you would change. Do this at least twice before winter.
- Ongoing: Add fire-starting practice to your monthly routine. Commit to at least one fire started with ferro rod only per month. Expand your tinder knowledge seasonally — spring and summer offer different materials than fall and winter. Build a dedicated fire kit in your bug-out bag and refresh it every 90 days.
Preparation Is a Lifestyle
A long-burn fire isn't a trick. It's a skill built from understanding — how wood burns, how heat moves, how to read terrain and weather and make adjustments in real time. You can read this article a dozen times, but until you've done it in the dark, in the cold, with numb fingers and tired legs, you don't truly own this skill.
That's the point of practicing now, in comfort, before the stakes are real. Preparation isn't a gear purchase or a YouTube rabbit hole. It's a lifestyle of deliberate, repeated practice that builds capability you can access under pressure. A fire that burns through the night could be the margin between making it home and not. Build the skill. Build it now. The scenario doesn't wait for you to feel ready.
🛒 Essential Survival Gear

As an Amazon Associate I earn from qualifying purchases.